


How to Put Up a Glass Shower Door
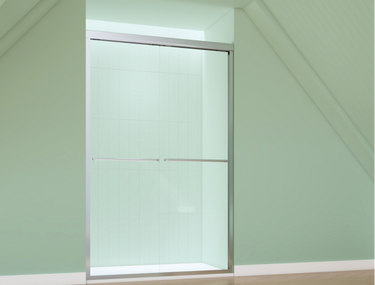
Installing a glass shower door can dramatically improve the look and functionality of your bathroom. Whether you're upgrading an existing shower or starting a new bathroom project, learning how to put up a glass shower door yourself can save you both time and money. A properly installed glass shower door provides an elegant, modern look, is easy to clean, and offers durability. In this guide, we’ll walk you through the steps to install a glass shower door, helping you achieve a flawless result that enhances your bathroom’s aesthetic.
Why Choose a Glass Shower Door?
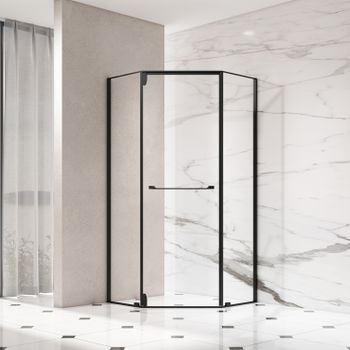
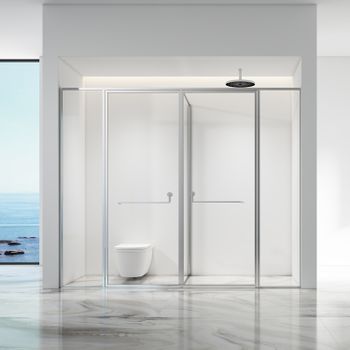
Before diving into the installation process, it's essential to understand why glass shower doors are such a popular choice. Glass shower panels are known for their clean, sleek look that adds a touch of modern luxury to any bathroom. They create a more open and airy feel, making your bathroom look larger and more spacious, especially when compared to traditional shower curtains. Unlike fabric curtains, glass doors are easy to clean and resist mold or mildew buildup, ensuring a long-lasting and low-maintenance solution for your shower area. Now that you understand the benefits, let’s get into how to put up a glass shower door.
Tools and Materials You’ll Need to Put Up a Glass Shower Door
Before you begin installing a glass shower door, make sure you have the necessary tools and materials. Here’s a quick list of what you’ll need:
- Glass Shower Door Kit (with proper measurements for your shower space)
- Measuring Tape
- Level
- Drill and Drill Bits
- Screwdriver
- Silicone Sealant
- Screws and Wall Anchors
- Safety Glasses and Gloves
- Caulking Gun
Once you’ve gathered everything, you’re ready to start the installation.
Step-by-Step Guide: How to Put Up a Glass Shower Door
1. Measure and Mark the Shower Opening
The first crucial step in putting up a glass shower door is measuring the shower opening. It’s important to get accurate measurements to ensure that your glass shower door fits perfectly. Use the measuring tape to measure the width of the opening, as well as the height from the floor to the top of the shower frame. Double-check these measurements before proceeding. Mark where the hinges, handles, and brackets will be positioned on the wall.
2. Install the Wall Mounting Brackets
Now that you’ve measured and marked the spots for the brackets, it’s time to install the wall mounting brackets that will hold your glass enclosure door. Use a level to ensure that the brackets are aligned correctly and evenly. Drill pilot holes into the wall where you made your marks, then use screws and wall anchors to secure the brackets in place. Make sure the brackets are securely fastened, as they will support the weight of the glass shower door.
3. Place the Glass Door in the Brackets
The next step in putting up a glass shower door is carefully lifting the glass shower door into the mounting brackets. This step requires caution as glass can be fragile. Have a second person assist with this process, especially if the glass shower door is heavy. Place the glass into the brackets, making sure it is level and aligned properly. Some glass shower doors come with rubber gaskets or spacers that help keep the glass securely in place. Tighten the screws to hold the glass firmly within the brackets.
4. Apply Silicone Sealant
Once the glass is securely in place, the next step in installing a glass shower door is sealing it to prevent water leakage. Apply silicone sealant along the edges of the door, where the glass meets the wall and the shower base. This will create a waterproof barrier and ensure that no water escapes through gaps. Use a caulking gun to apply a thin, even layer of sealant, and smooth it out for a clean finish.
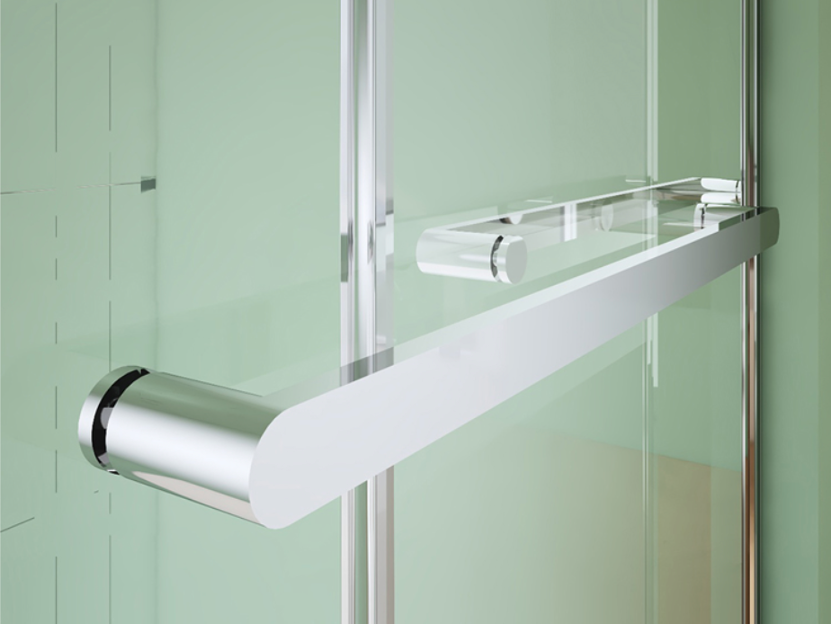
5. Install the Handle and Final Touches
With the glass securely installed and sealed, it’s time to add the finishing touches. Install the handle on your glass shower door according to the manufacturer’s instructions. Position the handle where it’s comfortable to grip and ensures smooth operation. Once the handle is in place, clean the glass thoroughly to remove any dust, fingerprints, or residue from the installation process. Allow the silicone sealant to dry completely before using the shower.
Common Mistakes to Avoid When Putting Up a Glass Shower Door
While installing a glass shower door can be a rewarding DIY project, it’s important to be mindful of common mistakes that can complicate the installation:
- Incorrect Measurements: Always double-check the measurements of your shower opening and glass shower door to ensure a proper fit. If the measurements are off, the door may not install correctly or may not close properly.
- Uneven Installation: Ensure the brackets and glass door are level. A crooked glass shower door can cause issues with opening and closing, and may also look unappealing.
- Insufficient Sealant: Make sure to apply enough silicone sealant to create a complete seal. Any gaps could lead to water leakage and potential damage to the surrounding area.
- Skipping Safety Gear: Glass is fragile, so don’t forget to wear safety glasses and gloves during the installation to protect yourself from any potential accidents.
Conclusion
Installing a glass shower door is a relatively straightforward project that can significantly enhance the appearance of your bathroom. By following these detailed steps, you can successfully put up a glass shower door that not only looks great but also functions efficiently. If you’re unsure about any part of the process, or if you prefer to leave it to professionals, don’t hesitate to reach out for expert installation.
At Fusa Shower, we offer a wide range of premium glass shower doors designed for easy installation and lasting performance. Whether you’re renovating your existing bathroom or building a new one, our glass shower doors provide the perfect combination of style and functionality to elevate your space.

©2024 FUSA All Rights Reserved.