


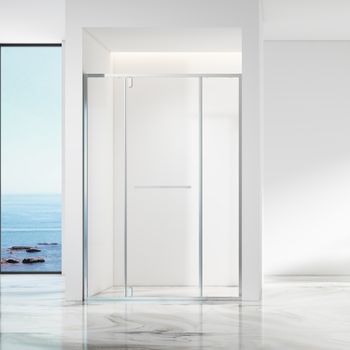

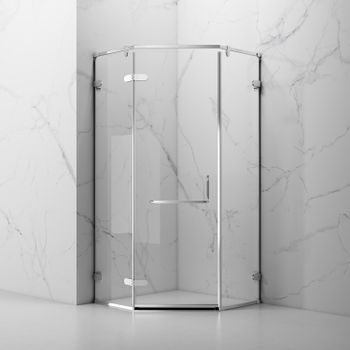
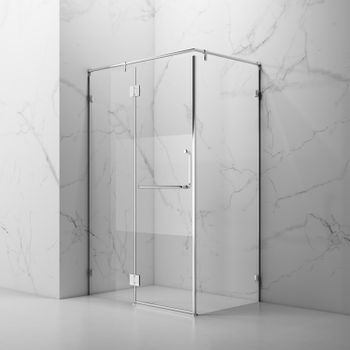
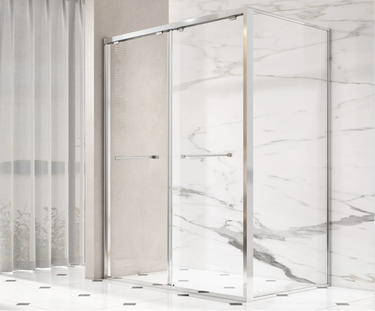
How to Replace a One-Piece Shower Stall
Replacing a one-piece shower stall can seem like a challenging task, but with the right guidance and preparation, it can be a satisfying DIY project. Whether your current one-piece shower stall is outdated, cracked, or simply no longer meets your needs, replacing it with a new, modern stall can significantly improve the look and functionality of your bathroom. In this guide, we will walk you through the necessary steps to successfully replace a one-piece shower stall, from preparation to installation, ensuring that your new shower is installed correctly and is ready for use.

Why You Might Need to Replace a One-Piece Shower Stall
There are various reasons why homeowners decide to replace a one-piece shower stall. Over time, a one-piece shower stall can become damaged due to frequent use, moisture exposure, or accidents that cause cracks or discoloration. In some cases, older units may not meet current plumbing or safety standards. Additionally, if you're remodeling your bathroom or want a fresh, modern look, upgrading to a new one-piece shower stall can be a great way to enhance your space. Regardless of your reason, knowing how to replace a one-piece shower stall ensures you can complete the job with confidence.
Step 1: Preparing the Bathroom for the Replacement
Before you begin to replace a one-piece shower stall, preparation is key. First, clear the area around the shower and ensure that you have all the necessary tools on hand. Common tools you will need include a utility knife, screwdriver, hammer, wrench, and a pry bar. It is also advisable to have a helper, as the one-piece shower stall can be heavy and cumbersome to remove.
Next, shut off the water supply to prevent any accidental leaks during the process. If your one-piece shower stall is connected to plumbing fixtures, like the showerhead, faucets, or drain, you will need to disconnect these parts carefully before moving forward with the replacement.
Step 2: Removing the Old One-Piece Shower Stall
Once the area is cleared, it's time to remove the old one-piece shower stall. Start by removing any trim, panels, or caulking around the edges of the one-piece shower stall. This will allow you to disconnect the stall from the surrounding wall or floor. Depending on the model, you may need to remove screws or brackets securing the shower stall to the wall.
Using a hammer and pry bar, carefully detach the one-piece shower stall from the wall. It’s important to take your time and avoid damaging the surrounding area. If the stall is very old or fragile, it may break into pieces, so be sure to dispose of it safely. After the stall is removed, clean the area to ensure a smooth installation for the new shower.
Step 3: Inspecting and Preparing the Installation Area
With the old one-piece shower stall gone, take some time to inspect the surrounding walls and floor. Look for any water damage, mold, or areas that need repair. The surface should be level and dry to ensure the proper installation of the new one-piece shower stall. If there is any damage, patch it up and let it dry before proceeding. Also, check the plumbing connections to ensure they’re in good condition and ready to be connected to the new stall.
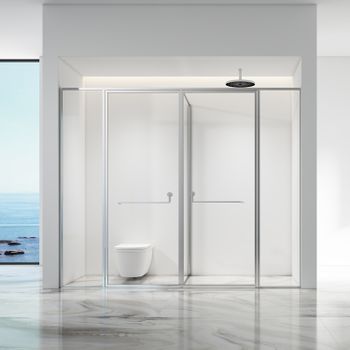
Step 4: Installing the New One-Piece Shower Stall
Now that the space is prepared, it’s time to replace the one-piece shower stall with the new unit. Carefully position the new one-piece shower stall into place, making sure it aligns with the plumbing and fits snugly in the designated space. If the shower has a pre-formed base, ensure that it is level and sitting securely.
Once in position, follow the manufacturer’s instructions to attach the stall to the wall. Most stalls will require you to use screws or brackets to secure them in place. Make sure the stall is level on all sides to avoid any future issues with drainage or water seepage. Once secured, double-check that the shower door (if included) opens and closes properly.
Step 5: Reconnecting Plumbing Fixtures
After the one-piece shower stall is installed and secured, you’ll need to reconnect the plumbing fixtures. This includes the showerhead, faucets, and drain. Carefully reconnect each piece, ensuring that all connections are tight and secure to prevent leaks. You may need to use Teflon tape or plumber’s putty to ensure a watertight seal. Once everything is connected, double-check that all the plumbing fixtures are functioning correctly.
Step 6: Sealing the Edges and Final Touches
The final step in replacing a one-piece shower stall is sealing the edges. Apply a layer of waterproof silicone caulk around the perimeter of the stall where it meets the wall and floor. This will help create a watertight seal and prevent water from leaking behind the shower. Smooth the caulk with a wet finger to ensure an even finish. Allow the caulk to dry completely before using the shower.
If your new one-piece shower stall came with trim or other finishing touches, now is the time to install those as well. Finally, clean the area around the shower, removing any debris or leftover materials from the installation process.
Step 7: Testing and Enjoying Your New Shower
Once everything is installed and sealed, turn on the water supply and test your new one-piece shower stall. Check for leaks around the plumbing connections and the edges of the stall. If everything is in good working order, you can now enjoy your new, upgraded shower.
Conclusion
Replacing a one-piece shower stall is a relatively simple process that can greatly improve the functionality and aesthetics of your bathroom. By following these steps, you can replace a one-piece shower stall with confidence and achieve professional results. With proper preparation, careful installation, and a little patience, you’ll have a brand-new shower that’s both beautiful and functional.

©2024 FUSA All Rights Reserved.