


How to Fit a Square Shower Enclosure
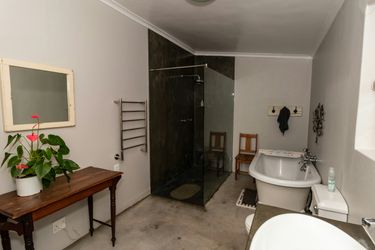
When it comes to modern bathroom renovations, installing a square shower enclosure is one of the most space-efficient and stylish upgrades you can make. Whether you're giving your entire bathroom a fresh new look or simply updating the shower area, a square enclosure offers a sleek, minimalist appearance while maximizing functionality, especially in smaller spaces where layout efficiency is essential.
But how exactly do you fit a square shower enclosure properly? From choosing the right size to sealing the edges for a watertight finish, each step requires careful planning and execution. To help guide you through the process, Fusa Shower presents a clear, step-by-step approach based on practical experience and industry best practices. With the right tools and some attention to detail, you can achieve a clean, professional result that enhances both the appearance and performance of your bathroom space.
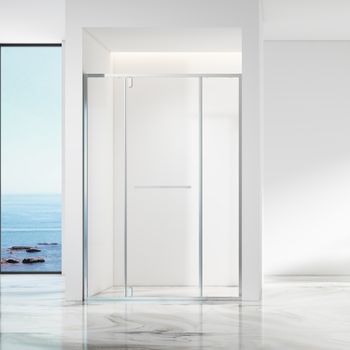
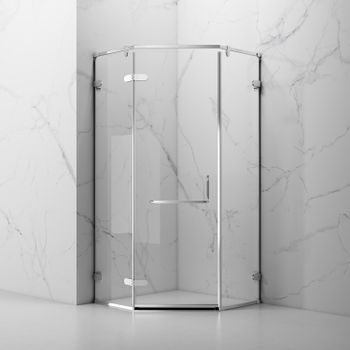
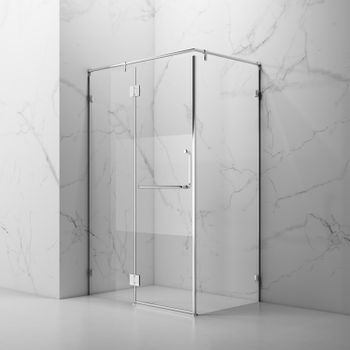
What Is a Square Shower Enclosure?
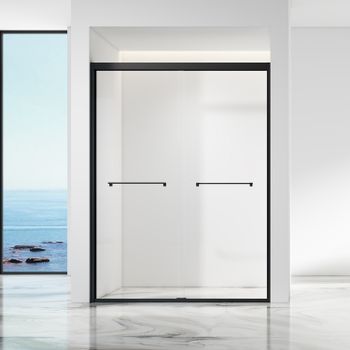
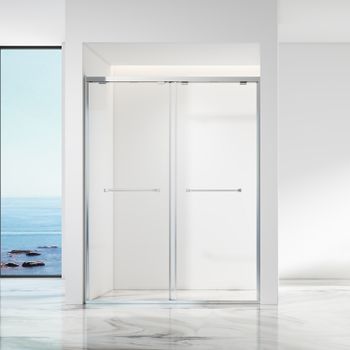
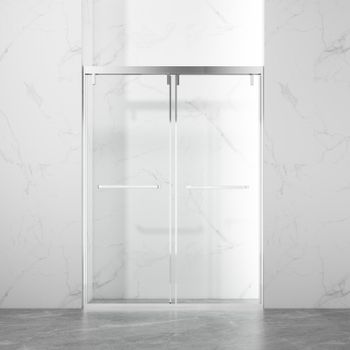
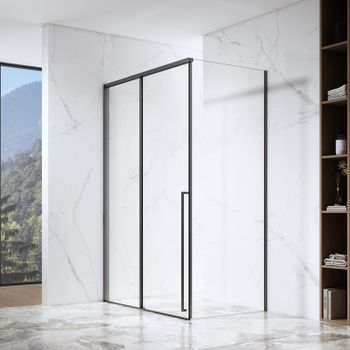
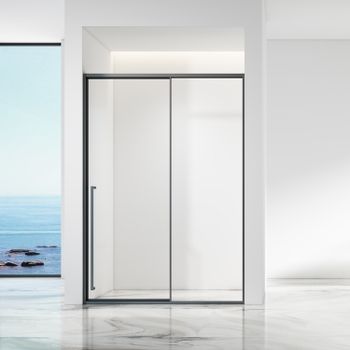
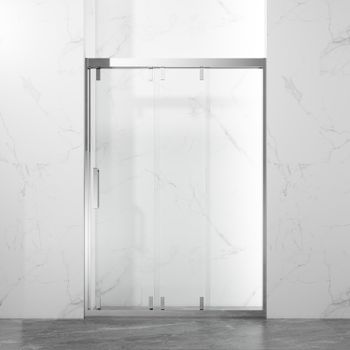
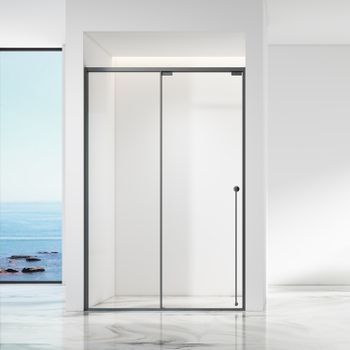
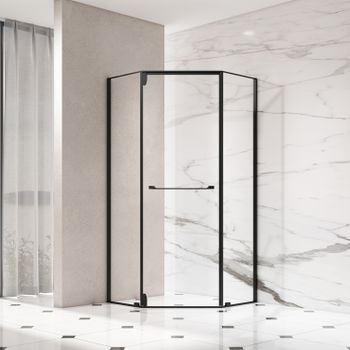
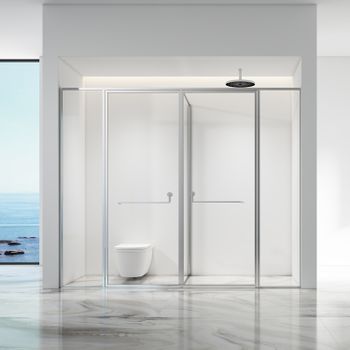
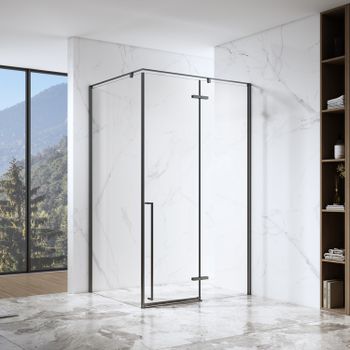
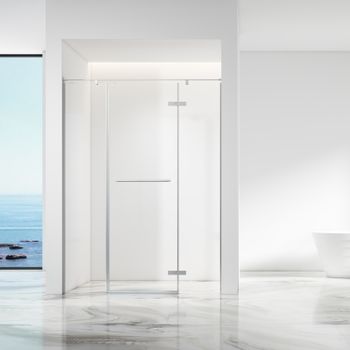
A square shower enclosure is a four-sided, right-angled shower area, typically placed in the corner of a bathroom. Its symmetrical design makes it ideal for small to medium-sized bathrooms, providing both space efficiency and ease of movement. Most square enclosures come with sliding or hinged doors and are made from toughened glass with aluminum or stainless steel frames.
These enclosures not only enhance the aesthetic of your bathroom but also help contain water effectively, keeping the rest of your bathroom clean and dry. Before you begin installation, it's essential to understand the specific size, style, and material options available to ensure you choose the right square shower enclosure for your space.
Preparation Before Installation
Installing a square shower enclosure starts with proper preparation. Before you even pick up a screwdriver, make sure you’ve measured your shower area accurately.
Tools and Materials You'll Need:
- Tape measure
- Spirit level
- Power drill
- Wall plugs and screws
- Silicone sealant (anti-mold)
- Screwdriver
- Rubber mallet
- Sealant gun
Start by measuring the width and height of the area where the enclosure will be fitted. Make sure the walls are plumb (vertically level) and the floor is even. An uneven surface can lead to leaks and instability, so it’s crucial to check and adjust as needed before moving forward.
Also, clean the entire work area. Dust, grease, or old sealant residues can interfere with the bonding and sealing process.
How to Install a Square Shower Enclosure
Now that you’re prepared, it’s time to begin installing your square shower enclosure. Follow these steps for a smooth installation process:
Step 1: Install the Shower Tray
Position the shower tray where the square shower enclosure will be fitted. Use a spirit level to ensure it is perfectly horizontal. If your tray includes adjustable legs, tweak them until it sits evenly. Apply a bead of silicone sealant around the edge to secure it to the floor.
Allow the sealant to cure for at least 24 hours before proceeding to ensure it is firmly in place and watertight.
Step 2: Attach Wall Profiles
Most enclosures come with vertical wall profiles. These metal strips are fixed to the wall and support the glass panels. Position them where the sides of the square shower enclosure will be placed, then mark and drill pilot holes into the wall.
Insert wall plugs and screw the profiles into place using your power drill. Use your spirit level to confirm they are completely vertical.
Step 3: Fit the Glass Panels
Slide the glass panels into the wall profiles. Most square shower enclosures have designated grooves and fixings that make this step straightforward. Handle the glass with care—wear gloves to avoid injury and fingerprints.
Fit rubber or plastic seals along the panel edges to prevent leaks. Secure the panels with the provided screws or brackets, ensuring everything is tight but not over-tightened.
Step 4: Install the Door
Whether your square shower enclosure has sliding or hinged doors, follow the manufacturer’s instructions carefully. For sliding doors, mount the rollers on top and bottom tracks. For hinged doors, ensure the hinges are aligned perfectly so the door opens and closes smoothly.
Once fitted, test the door operation to ensure it’s level and closes tightly without gaps.
Sealing and Leak Testing
After the structure is installed, it’s time to apply sealant to all internal joints, including where the glass meets the wall, tray, and between any panels. Use a mold-resistant silicone sealant and a sealant gun to achieve a smooth, even bead.
Avoid sealing the inside bottom edge immediately—this allows water to drain properly. Always follow the manufacturer's guidance here.
Let the sealant cure for at least 24 hours before running water in the enclosure. Once cured, turn on the shower and inspect all corners and joints for leaks. If any are detected, reapply sealant as necessary.
Maintenance Tips for Longevity
After successfully fitting your square shower enclosure, regular maintenance ensures it stays in great shape:
- Wipe down the glass after each use to prevent water spots and soap scum.
- Clean seals and tracks weekly using a mild, non-abrasive cleaner.
- Check for signs of wear in door rollers or hinges and tighten loose screws as needed.
- Inspect and replace sealant every 6–12 months to maintain waterproofing.
Conclusion
Installing a square shower enclosure may seem daunting at first, but with the right preparation and methodical steps, it’s entirely achievable. From selecting the ideal size to applying the final seal, every detail plays a key role in creating a functional and stylish shower space.
Whether you're upgrading your bathroom for enhanced aesthetics or everyday practicality, a well-installed square shower enclosure offers lasting value. For expert-recommended designs, premium materials, and professional guidance, visit Fusa Shower—your trusted partner in modern bathroom solutions. Explore our collection online and contact us today for personalized advice or a custom quote. Let Fusa Shower help you bring your vision to life with confidence.

©2024 FUSA All Rights Reserved.